1
Submit Your Flyers
You can submit flyers in two ways:
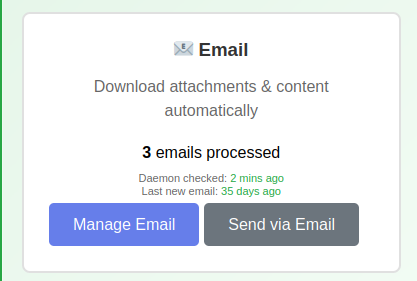
Option A: Email (Recommended)
Email your event flyer images to:
vivaslough@mail.co.uk
- Attach your flyer images (PNG, JPG, or PDF)
- You can send multiple flyers in one email
- The subject line doesn't matter
- You can forward emails from other addresses - this works too
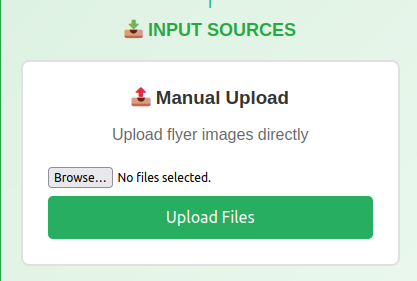
Option B: Manual Upload
Upload flyer images directly through the dashboard:
2
Wait for Processing
The system automatically processes your flyers through several stages:
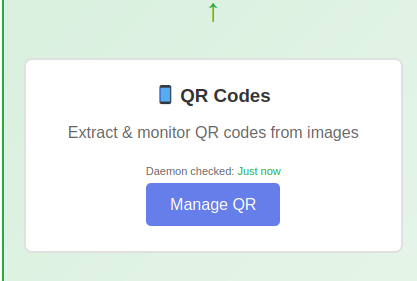
Stage 1: QR Code Scanning
Flyers are scanned for QR codes to extract any URLs or links.
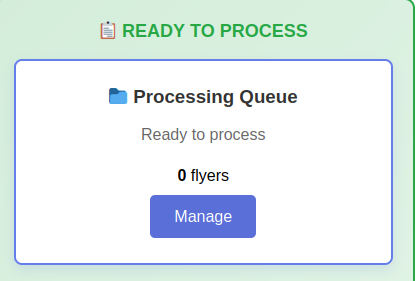
Stage 2: Processing Queue
Flyers move to the processing queue where AI extracts event details.
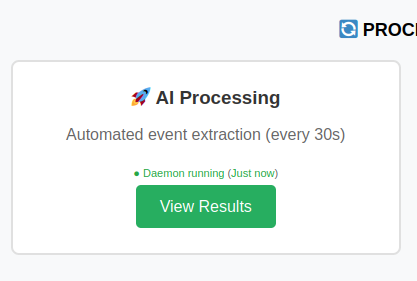
Stage 3: AI Extraction
Multiple AI systems analyse each flyer for accuracy.
Typical processing time: 2-5 minutes
Note: Complex flyers with lots of text may take slightly longer.
3
Open the Event Review Page
Click Review Events in the Approvals section to open the Event Review page.
At the top you'll see stats and column visibility controls:
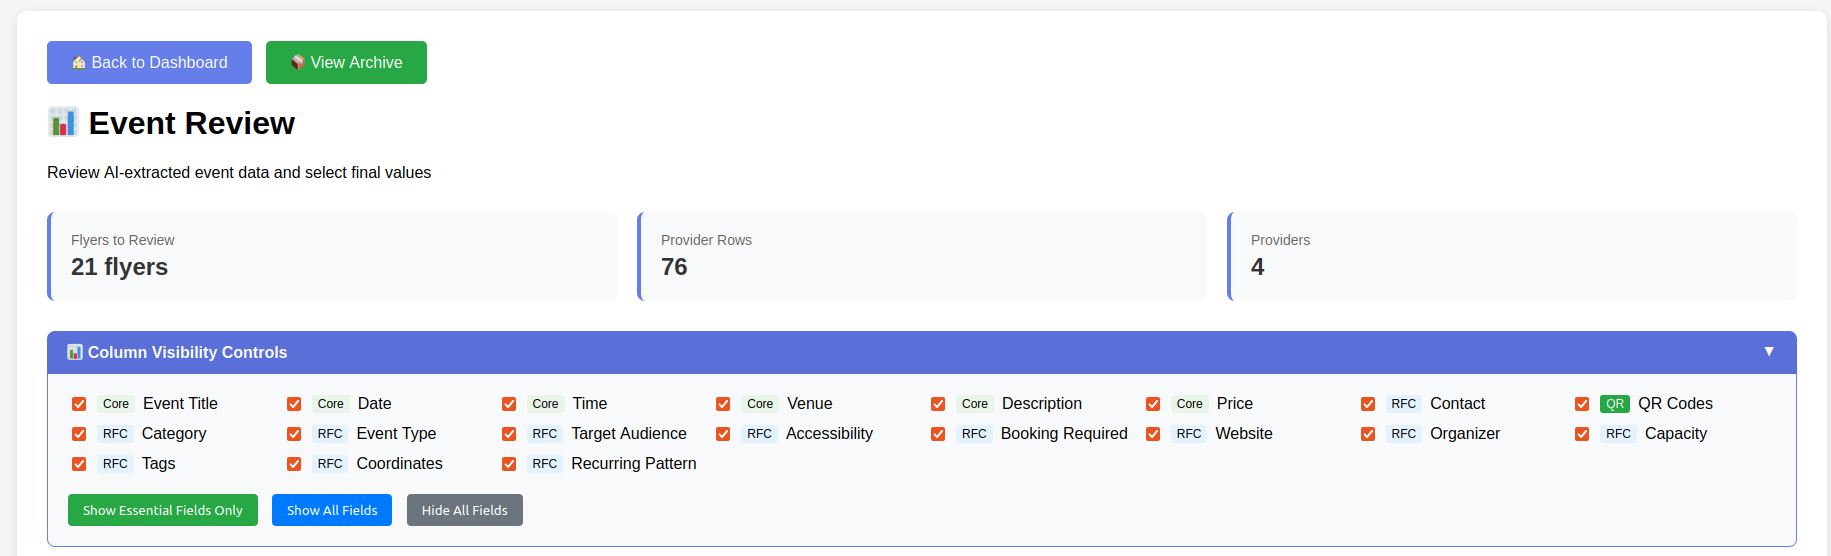
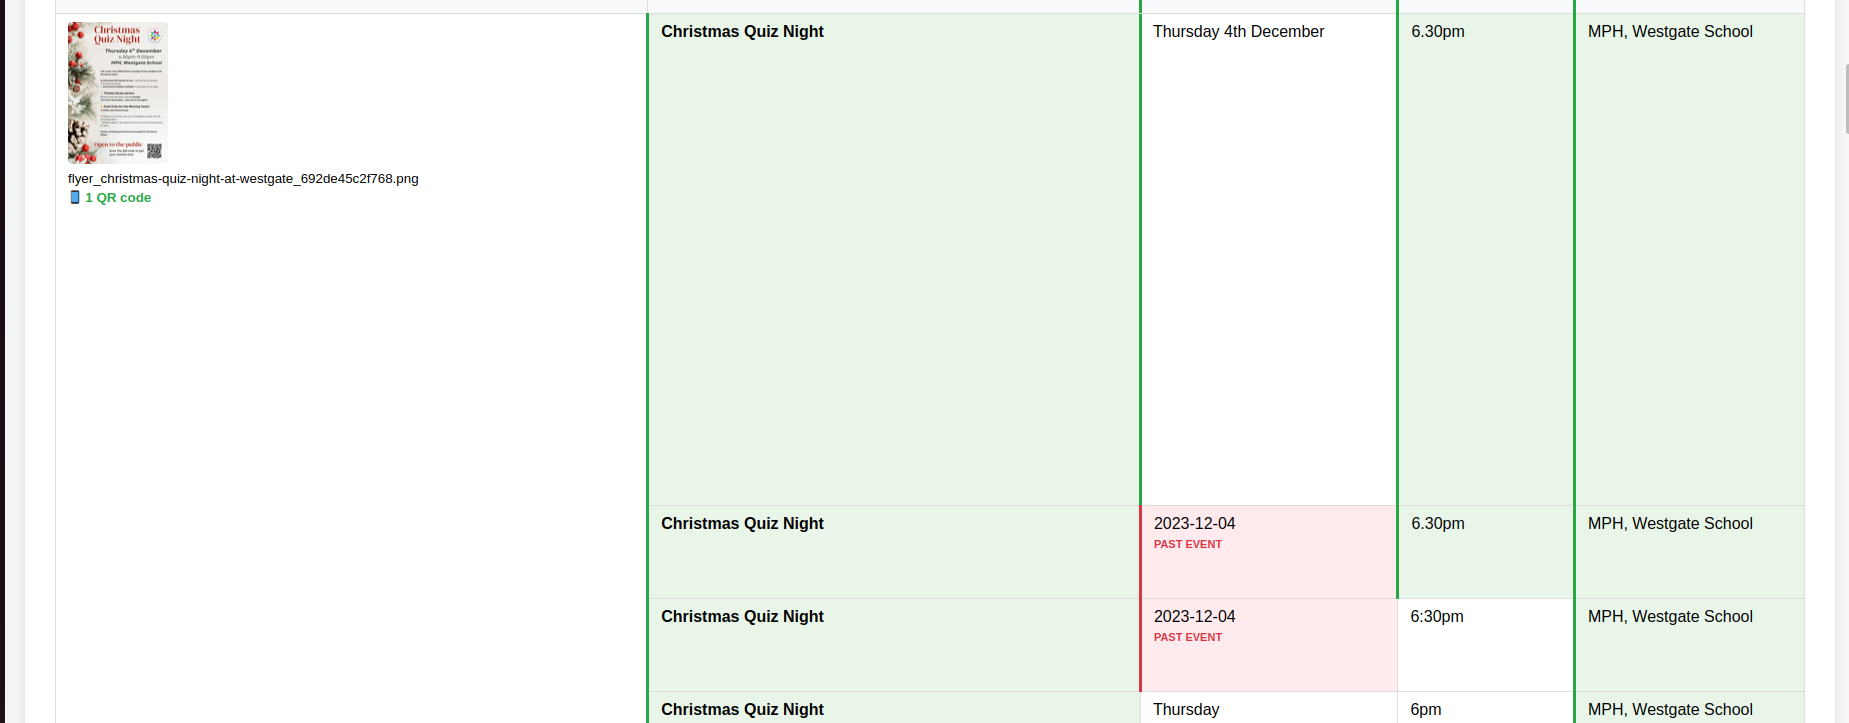
Below that is the review table. Each event shows:
- The original flyer image
- Extracted details: Title, Date, Time, Venue, etc.
- Multiple rows from different AI providers
- Field Confidence scores

4
Review Each Field
For each event, check that the extracted information is correct:
- Look at the original flyer image on the left
- Compare it with the extracted text in each column
- Green cells show where AI providers agree (consensus)
- Red/pink cells warn about past dates or locations outside Slough
Click on a cell to select that value for the final output:
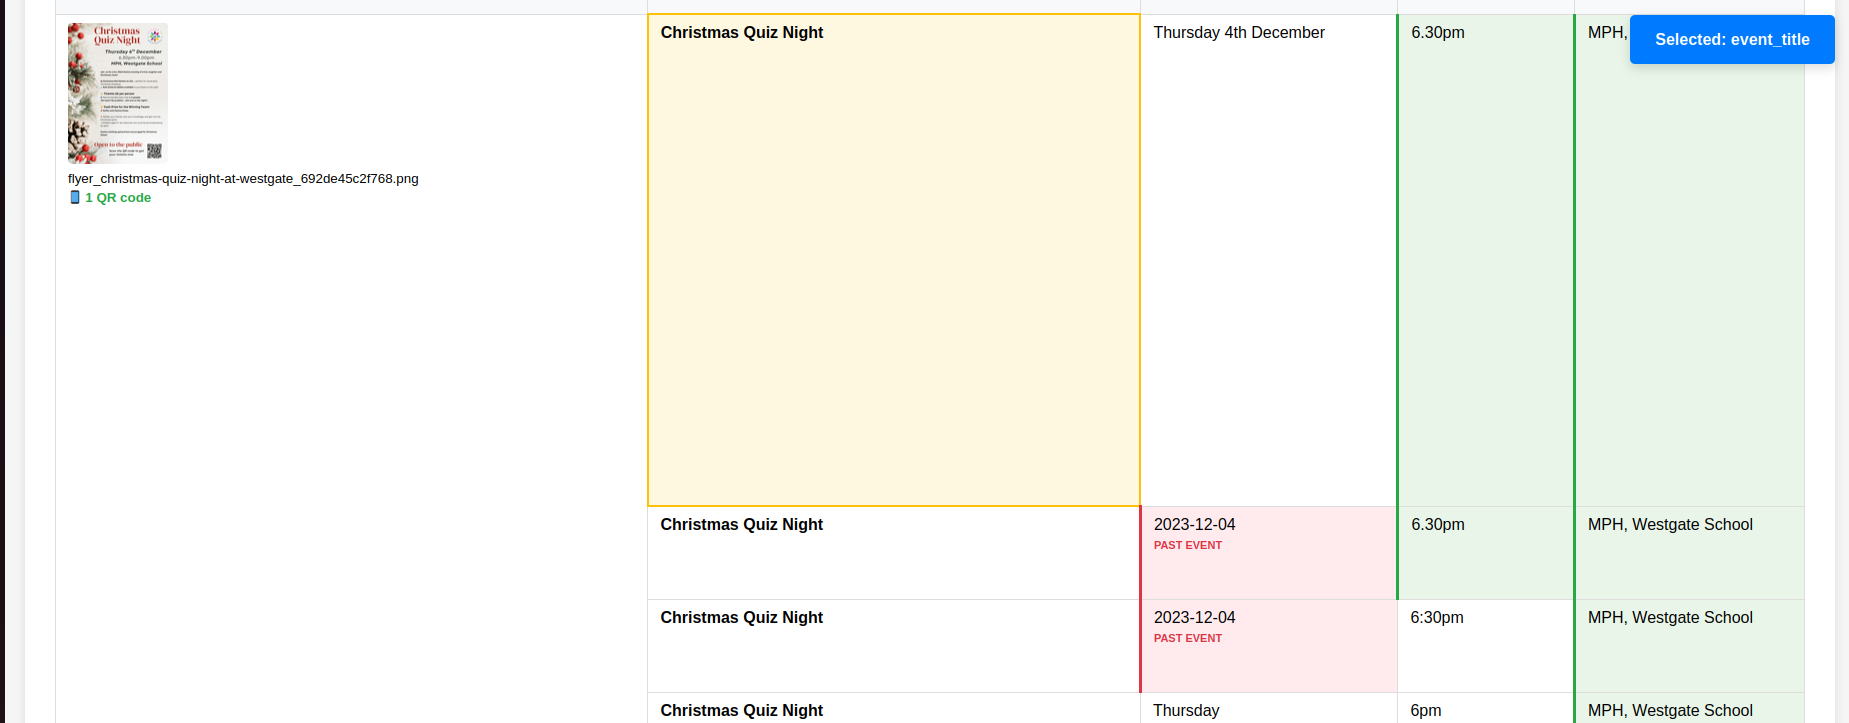
When you click a cell, it highlights yellow and shows "Selected" - this value will be used when you approve the event.
Tip: You may see different values from different AI providers. Pick the most accurate one from any row.
5
Approve the Event
Once you've reviewed all the fields, you can approve or reject the event:
1. Click Approve
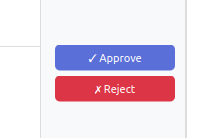
Click the green Approve button (or red Reject if invalid)
2. Review Summary
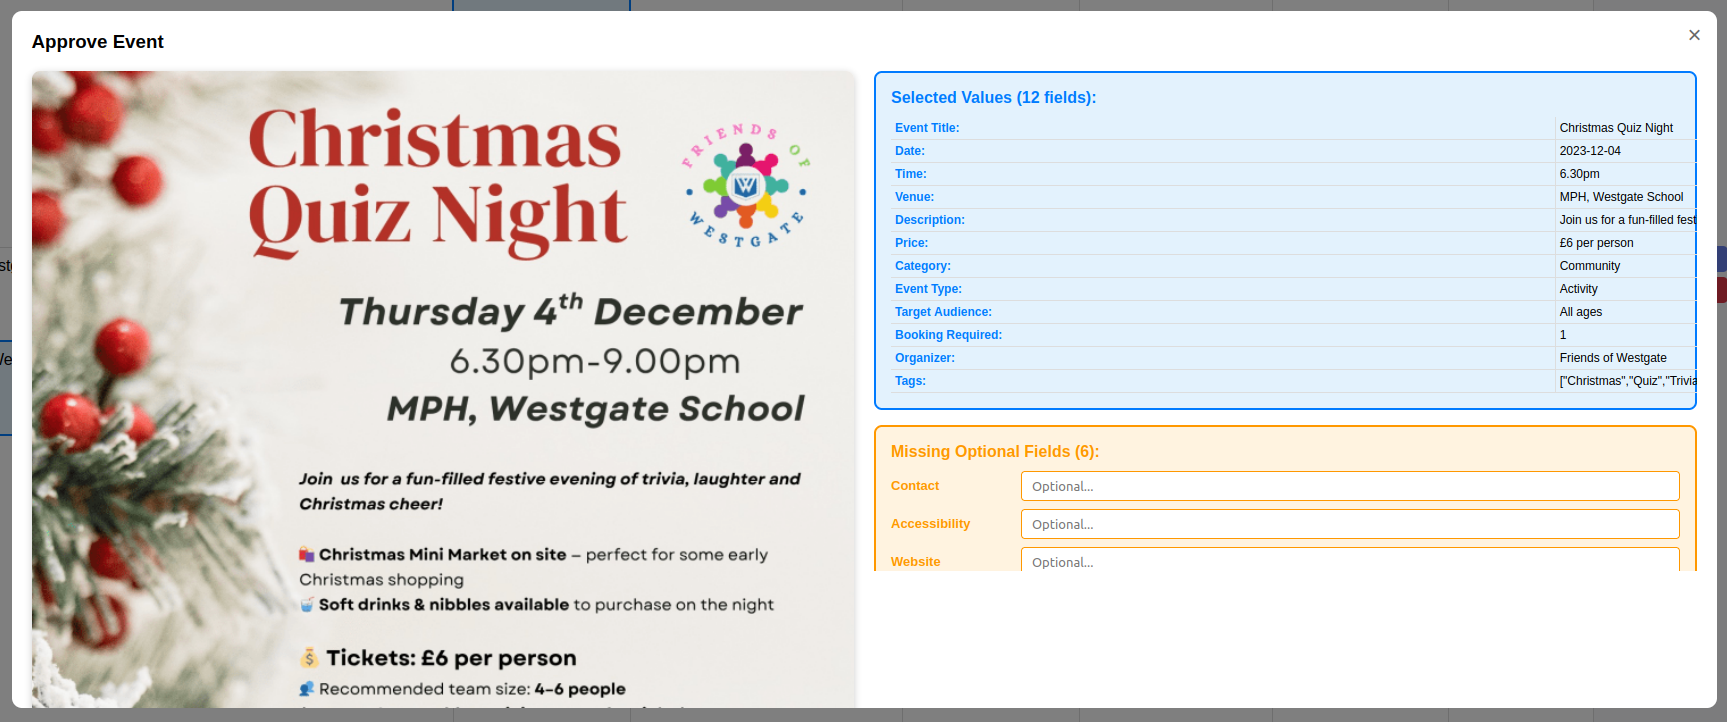
Check the selected values and fill any missing optional fields
3. Confirm

Click Confirm Approval to save
Tip: The event will move to the Approved Articles page once confirmed.
6
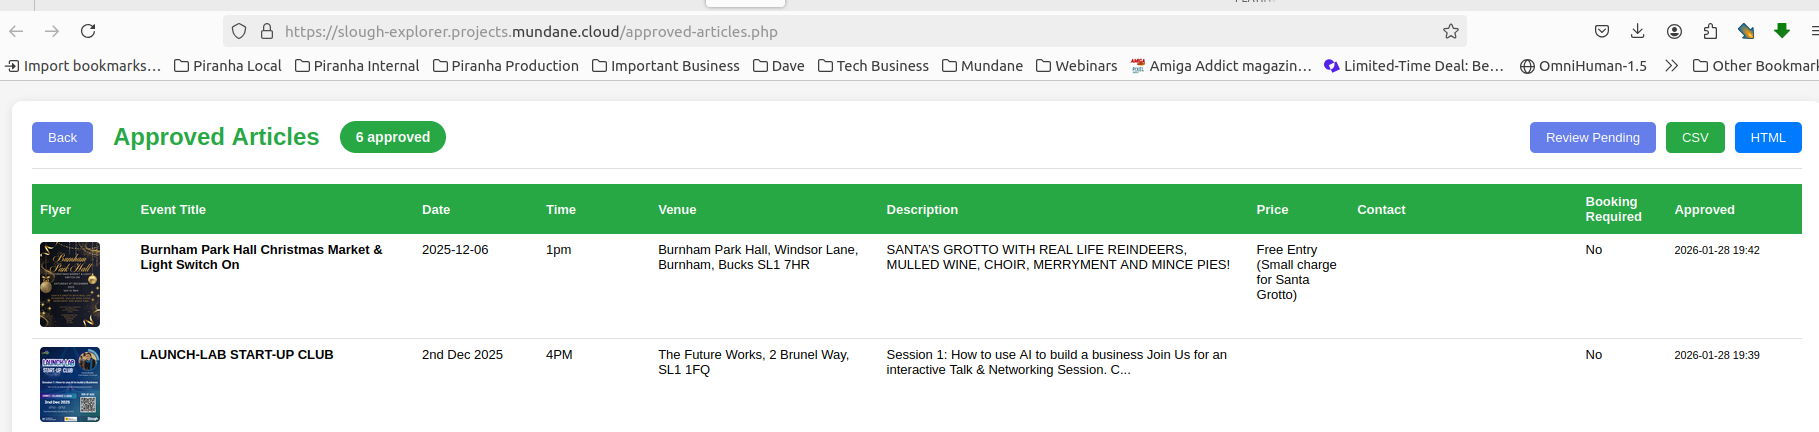
See It in the Approved Articles Table
Click Approved Articles in the Output Methods section to view all approved events.
This shows all events you have approved, with:
- All the field values you selected
- When you approved it
- Export buttons for CSV and HTML
7
Repeat for All Events
Continue reviewing events one by one:
- Review the fields
- Approve the event
- Watch it move to the Approved Articles table
- Move on to the next event
When finished, the pending list will be empty.
Note: New flyers can arrive at any time. The list updates automatically.
8
View and Export Your Approved Events
View Approved Articles
Click Approved Articles to see all events you've approved in a table view.
- See all approved events at a glance
- Quick export buttons in the header
- Click flyer thumbnails to enlarge
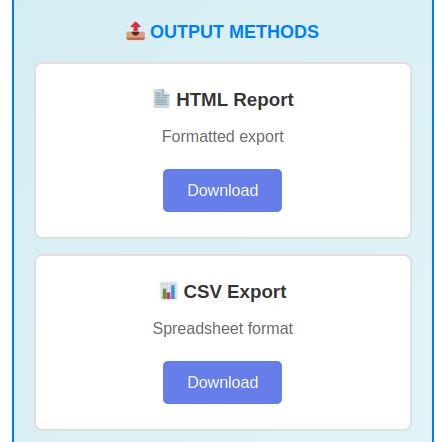
Export Options
From the Output Methods section or the Approved Articles page:
- HTML Report - Formatted report for printing
- CSV Export - Spreadsheet for Excel or Google Sheets